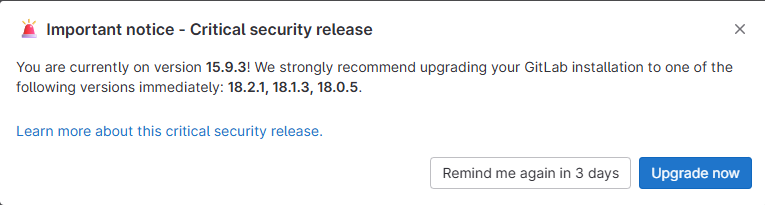
Gitlab 에서 보안 이슈로 버전 업그레이드가 필요한 상황에서 Gitlab 버전을 업그레이하는 방법에 대해 설명 합니다.
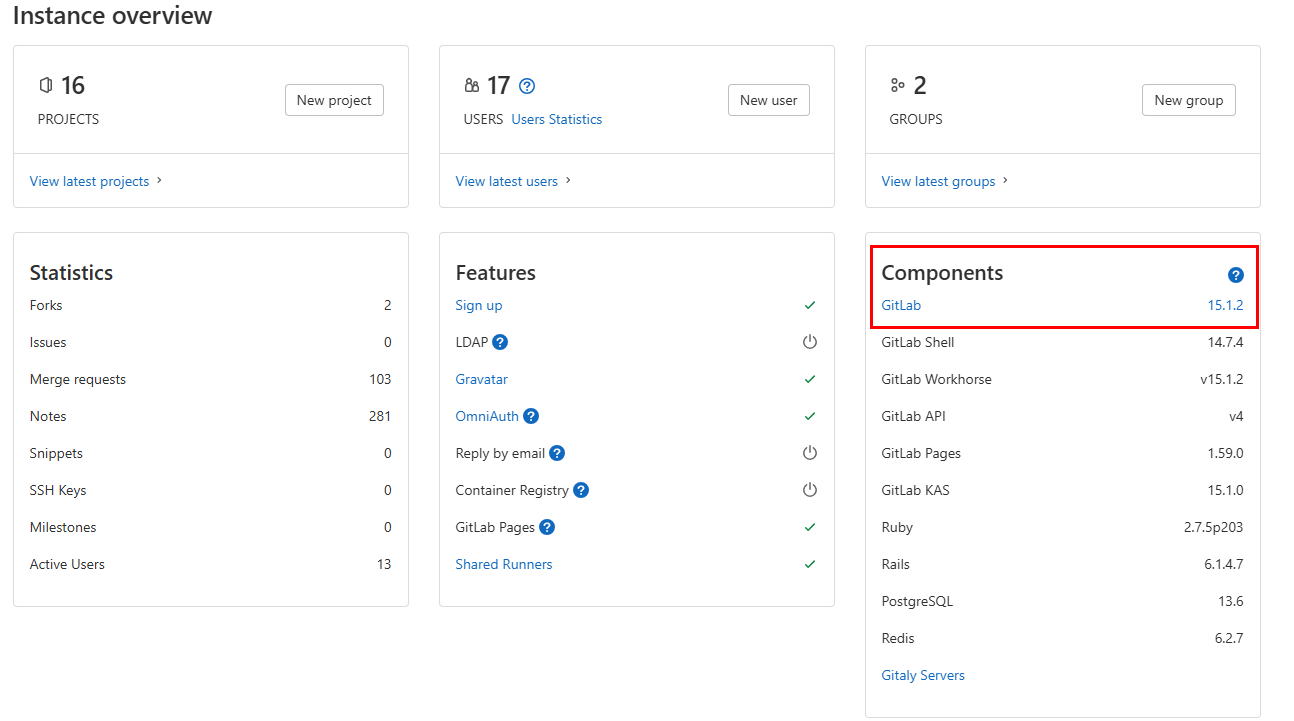
현재 설치 버전 gitlab 정보 확인
gitlab-rake gitlab:env:info 명령을 통해 확인 하거나
gitlab 에 접속 해서 직접 설치 정보를 확인 하는 방법이 있습니다.
gitlab-rake gitlab:env:info
$ gitlab-rake gitlab:env:info
System information System: Current User: git Using RVM: no Ruby Version: 2.7.5p203 Gem Version: 3.1.4 Bundler Version:2.3.15 Rake Version: 13.0.6 Redis Version: 6.2.7 Sidekiq Version:6.4.0 Go Version: unknown
GitLab information Version: 15.1.2 Revision: ea7455c8292 Directory: /opt/gitlab/embedded/service/gitlab-rails DB Adapter: PostgreSQL DB Version: 13.6 URL: http://192.112.1.62:6060 HTTP Clone URL: http://1 192.112.1.62 :6060/some-group/some-project.git SSH Clone URL: git@1 192.112.1.62:some-group/some-project.git Using LDAP: no Using Omniauth: yes Omniauth Providers:
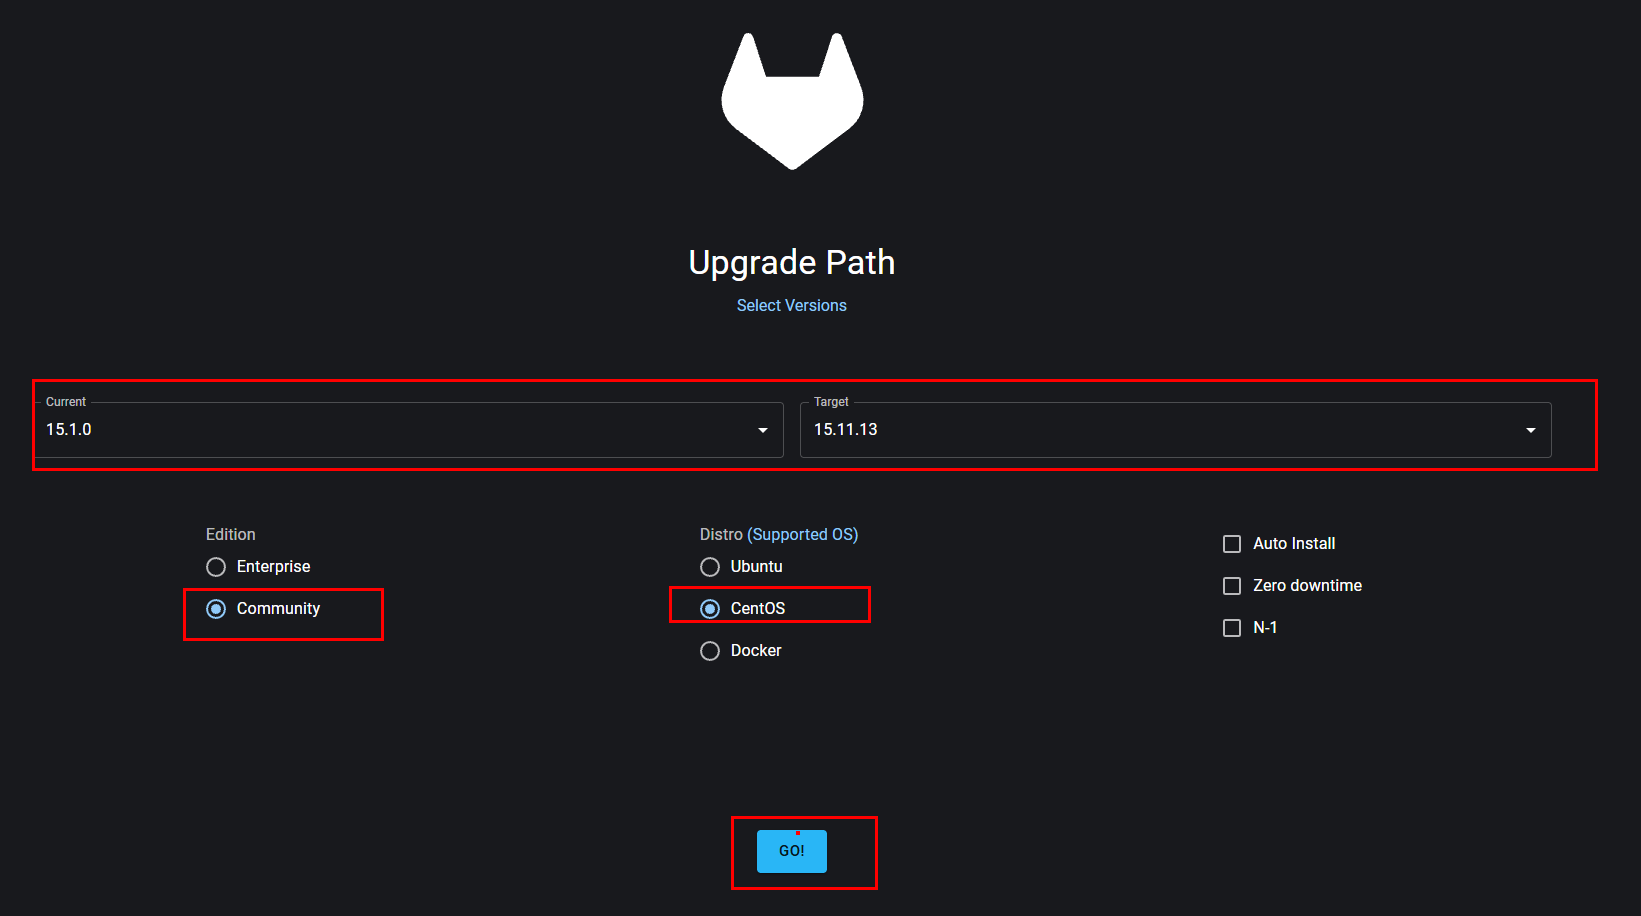
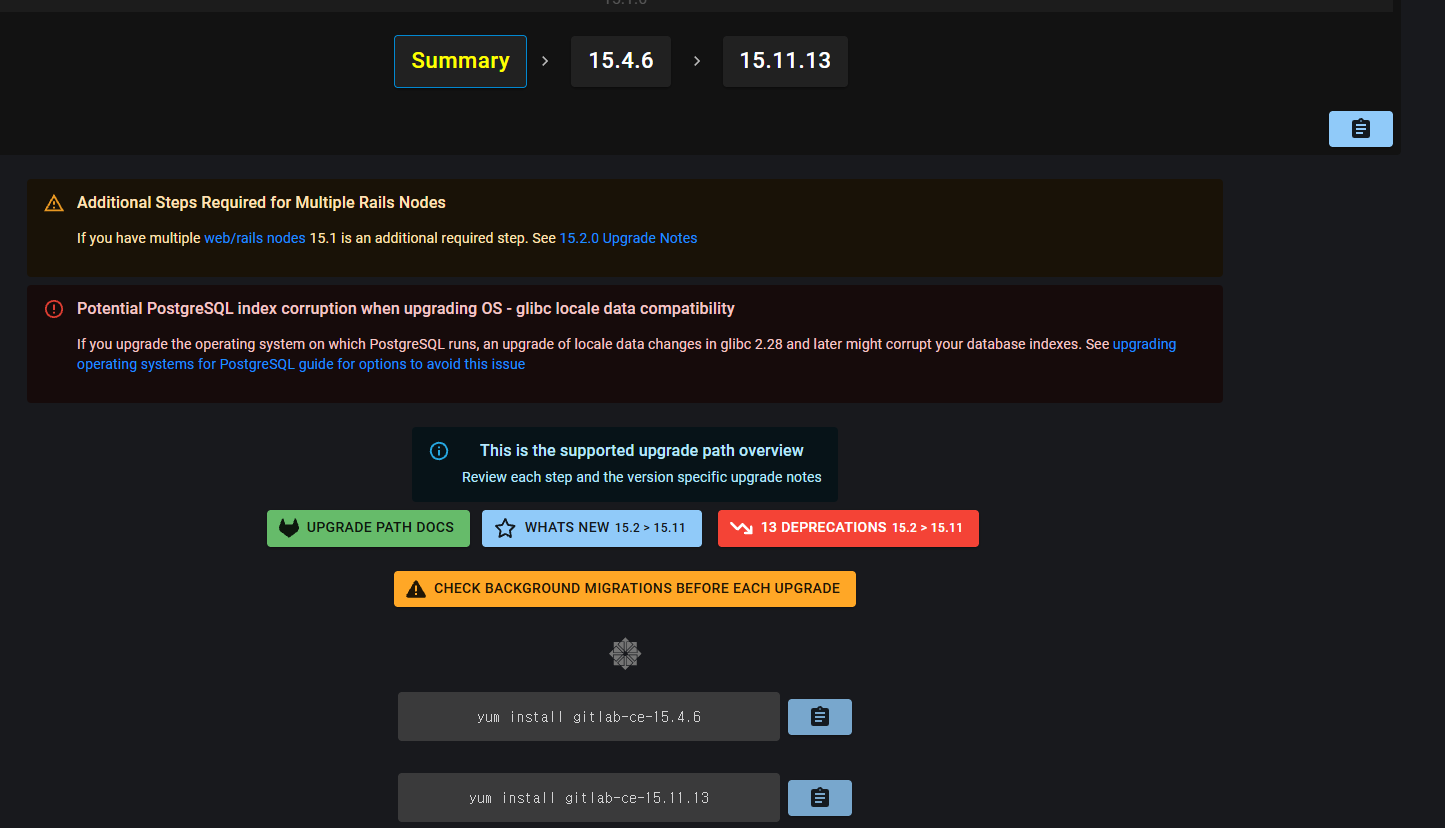
15.1.x -> 15.4.6 -> 15.11.13 -> 16.0.8 -> 16.3.7 -> 16.7.x -> 최신 16.x -0 ->17.x ->18.x 버전으로 단계적으로 업그레이드 단계를 수행 합니다.
GitLab 백업 하기
업그레이드가 예기치 않은 이유로 실패 할수 있기때문에 버전을 업그레이드 하기 위해서는 반드시 백업을 수행 해야 합니다.
gitlab-backup create 수행 하면 /var/opt/gitlab/backups/ 디레톡리에 1753833159_2025_07_30_15.1.2_gitlab_backup.tar 형식의 압축 파일이 생성 됩니다.
백업 이후 설정 파일도 백업합니다.
# GitLab 전체 백업 명령어 실행
sudo gitlab-backup create
sudo cp /etc/gitlab/gitlab.rb /etc/gitlab/gitlab.rb.bak
sudo cp /etc/gitlab/gitlab-secrets.json /etc/gitlab/gitlab-secrets.json.bak
$ gitlab-backup create 2025-07-30 08:52:39 +0900 -- Dumping database ... Dumping PostgreSQL database gitlabhq_production ... [DONE] 2025-07-30 08:52:54 +0900 -- Dumping database ... done 2025-07-30 08:52:54 +0900 -- Dumping repositories ... ................................. ................. 2025-07-30 08:54:53 +0900 -- Warning: Your gitlab.rb and gitlab-secrets.json files contain sensitive data and are not included in this backup. You will need these files to restore a backup. Please back them up manually. 2025-07-30 08:54:53 +0900 -- Backup 1753833159_2025_07_30_15.1.2 is done.
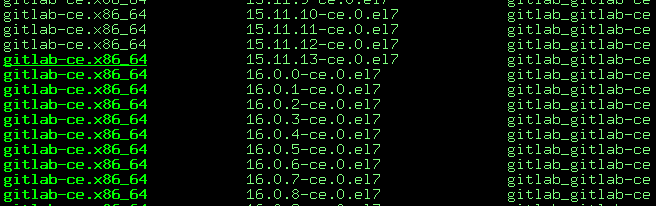
보다 높은 최신 버전으로 업그레이드 하기 위해서는 단계적으로 상위 버전 gitlab 버전을 설치하는 단계를 반복 합니다.
버전 업그레이드 정리
#Gitlab 설치 버전 정보 확인
yum --showduplicates list gitlab-ce
#설정 적용
gitlab-ctl reconfigure

#Gitlab 재시작
gitlab-ctl restart

#Gitlab 상태 확인
gitlab-ctl status

#gitlab 업그레이드 버전 정보 확인
gitlab-rake gitlab:env:info
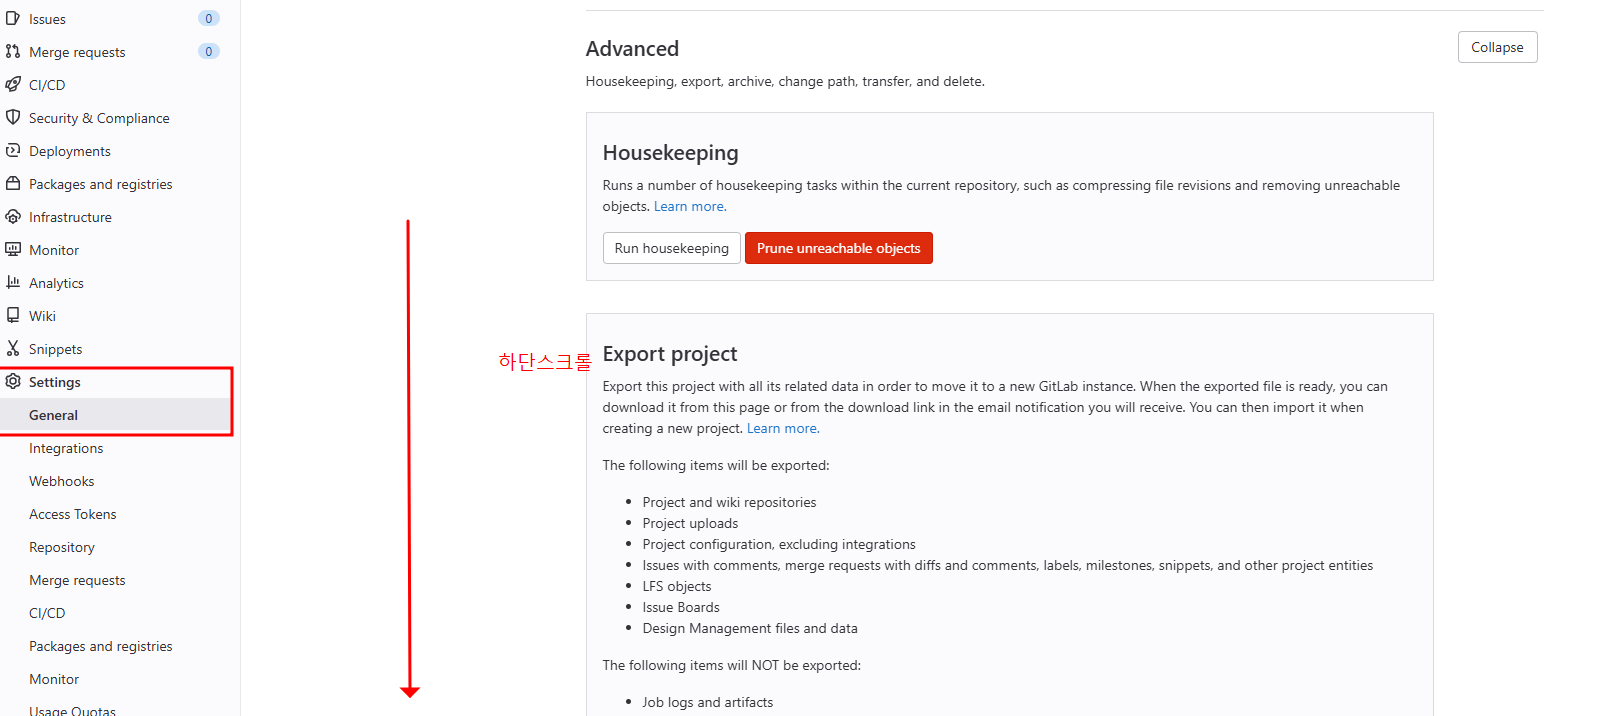
업그레이드 패스 확인 하기 (참고)
아래 URL 에 접속 하면 버전 업그레이드시 확인해야 할 내용에 대해 세부적으로 자세히 내용을 들여다 볼수 있습니다.
#파일 추가
svn add new_file.txt

#파일 저장
svn commit -m "추가한 내용 기록"

#파일 삭제
svn delete old_file.txt

#파일 내용 비교
svn diff current_file.txt

#파일 변경 내용 확인
svn log current_file.txt
위 현상을 해결 하기 위해서는 아래 단계로 현재 로케일 설정을 확인하고 환경에 맞는 로케일 로 설정을 맞춰 줍니다.
$ svn checkout svn://1~~~ svn: warning: cannot set LC_CTYPE locale svn: warning: environment variable LANG is UTF-8 svn: warning: please check that your locale name is correct
파일이 없는 빈 디렉토리는 자동으로 무시 되기 때문에 간접적인 방법으로 .gitkeep 파일을 사용 하여 빈디렉토리를 저장 한다.
.gitkeep 파일 사용 방법
빈파일을 생성 한다.
mkdir my_empty_directory
디렉토리 안에 .gitkeep 파일을 생성합니다
touch my_empty_directory/.gitkeep
디렉토리를 Git에 추가하고 커밋한다.
# 모든 빈 디렉토릴를 저장 하고 자 할때
git add .

# 특정 빈 디렉토리를 저장하고자 할때
git add my_empty_directory/.gitkeep
git commit -m "Add empty directory my_empty_directory with .gitkeep"
.gitkeep 파일은 특별한 의미를 가지지 않는 관례적인 이름으로 사용 하며 빈 디렉토리임을 다른 사용자가 의도적으로 비어있는것을 표현해 주는 의미다.
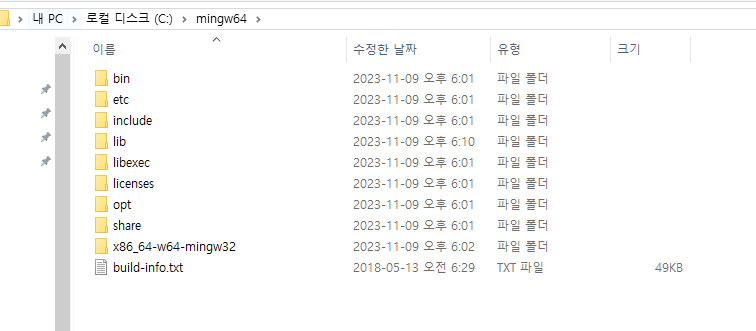
mingw64 -> x86_64-8.1.0-release-win32-seh-rt_v6-rev0.7z 바이너리 압축 해제
윈도우 환경 변수 설정
시스템 -> 시스템 속성 -> 환경 변수 -> 환경 변수 편집 -> C:\mingw64\bin 추가
GCC 설치 버전 확인
Win + R 버튼 클릭후 cmd 창에서 설치 버전을 확인 합니다.
C:\>gcc --version gcc (x86_64-win32-seh-rev0, Built by MinGW-W64 project) 8.1.0 Copyright (C) 2018 Free Software Foundation, Inc. This is free software; see the source for copying conditions. There is NO warranty; not even for MERCHANTABILITY or FITNESS FOR A PARTICULAR PURPOSE.
C:\>g++ --version g++ (x86_64-win32-seh-rev0, Built by MinGW-W64 project) 8.1.0 Copyright (C) 2018 Free Software Foundation, Inc. This is free software; see the source for copying conditions. There is NO warranty; not even for MERCHANTABILITY or FITNESS FOR A PARTICULAR PURPOSE.
#include <stdio.h>
int main()
{
    printf("Hello, world!\n");
    printf("C Program Compile Test \n");
    return 0;
}
실행 매뉴 버튼 클릭후 테스트 코드를 컴파일 및 실행 합니다.
디버깅 없이 실행 (Ctrl+F5)
테스트 결과
입력변수 설정을 통한 컴파일 및 실행
컴파일 후에 입력 변수 설정을 통해 실행을 할수도 있습니다.
기존에 작성했던 코드를 조금 수정 합니다.
#include <stdio.h>
int main(int argc, char *argv[])
{
    printf("1 번째 [%s]:\n",argv[1]);
    printf("2 번째 [%s]:\n",argv[2]);
    printf("Hello, world!\n");
    printf("C Program Compile Test \n");

    return 0;
}
테스트 프로젝트 하위 .vscode 디렉 토리 밑에 launch.json 파일을 생성 합니다.
.vscode 디렉토리 에는 기존에 환경 설정한 tasks.json , c_cpp_properties.json 파일도 생성되어 있습니다.
동일 디렉토리 launch.json 파일을 만들고 환경 설정 내용을 작성 합니다.
입력 값은 "args": ["1 args ","2 args "], 형식으로 작성합니다.
launch.json
{
    // IntelliSense를 사용하여 가능한 특성에 대해 알아보세요.
    // 기존 특성에 대한 설명을 보려면 가리킵니다.
    // 자세한 내용을 보려면 https://go.microsoft.com/fwlink/?linkid=830387을(를) 방문하세요.
    "version": "0.2.0",
    "configurations": [
        {
            "name": "gcc.exe - 활성 파일 빌드 및 디버그",
            "type": "cppdbg",
            "request": "launch",
            "program": "${fileDirname}\\build\\${fileBasenameNoExtension}.exe",
            "args": ["1 args ","2 args "],
            "stopAtEntry": false,
            "cwd": "${fileDirname}",
            "environment": [],
            "externalConsole": false,
            "MIMode": "gdb",
            "miDebuggerPath": "C:\\mingw64\\bin\\gdb.exe",
            "setupCommands": [
                {
                    "description": "gdb에 자동 서식 지정 사용",
                    "text": "-enable-pretty-printing",
                    "ignoreFailures": true
                }
            ],
            "preLaunchTask": "C/C++: gcc.exe 활성 파일 빌드"
        },
    ]
}